NSToolbar Customisation in UIKit for Mac (Marzipan/Catalyst)
As I’m sure many of my fellow developers have been, following the recent announcements from WWDC 2019, I have been playing around with Catalyst, Apple’s new infrastructure designed to make it easy to bring iOS (or more specifically iPadOS) apps over to macOS. Unlike many developers, however, most of my apps make use of tab bar based interfaces, for which Apple recommends moving to toolbar segmented control navigation when porting to the Mac.
In this post I’ll briefly run through what I’ve figured out thus far, trying to implement this (I will hopefully keep updating as I go). If this isn’t quite what you’re looking for but still want to see what’s possible with Catalyst, then I recommend reading Beyond the Checkbox with Catalyst and AppKit by the always inspirational Steve Troughton-Smith.

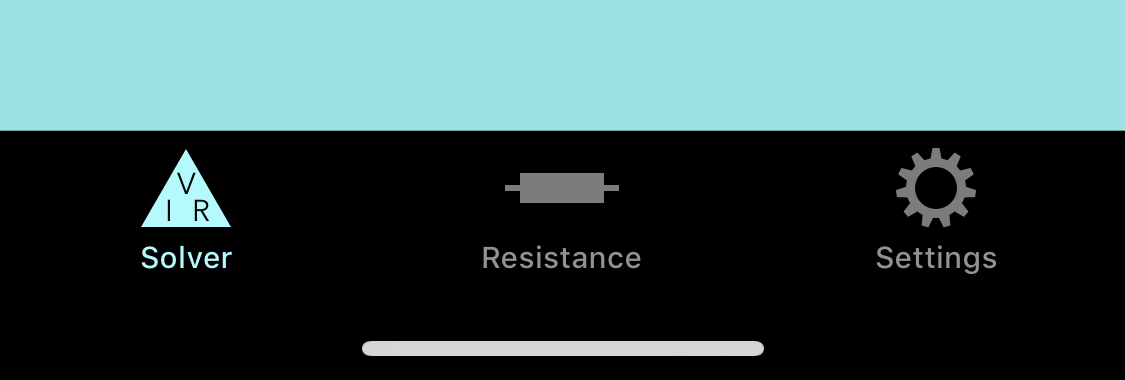
iOS Tab Bar Navigation

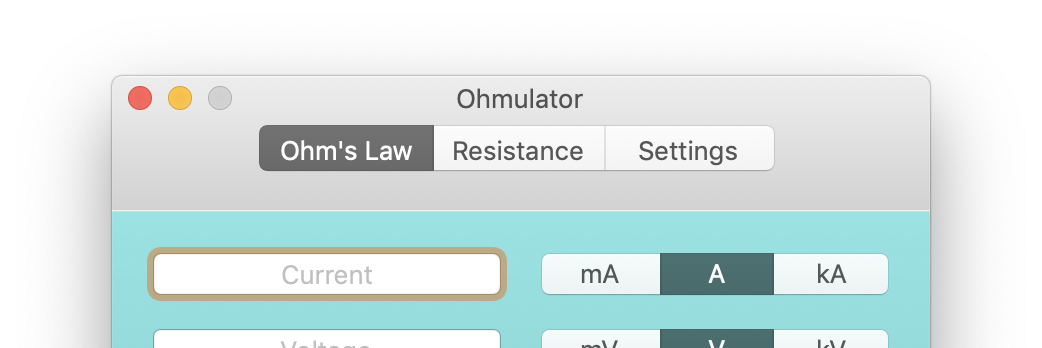
Apple’s Recommended Mac Equivalent
To gain access to the toolbar your code base needs to support the UIScene APIs introduced with iOS 13, if you need to add this to an existing project I have another post here covering the required steps.
From within the scene delegate, you should be able to get a reference to and make adjusts to your app’s NSToolbar instance, from the willConnectTo session method, like so:
func scene(_ scene: UIScene, willConnectTo session: UISceneSession, options connectionOptions: UIScene.ConnectionOptions) {
    guard let _ = (scene as? UIWindowScene) else { return }

    #if targetEnvironment(macCatalyst)
        if let windowScene = scene as? UIWindowScene {
            if let titlebar = windowScene.titlebar {
                let toolbar = NSToolbar(identifier: "testToolbar")

                titlebar.toolbar = toolbar
            }
        }
    #endif
}
If you get a “Value of type ‘UIWindowScene’ has no member ‘titlebar‘" error, you will need to import NSToolbar+UIKitAdditions.h as detailed in the macOS 10.15 Beta Release Notes. This is likely a temporary requirement. Thanks to Sebastian in the comments for helping me over this hurdle!

You can import this directly if you’re using Objective-C, otherwise in Swift you can import them in a bridging header like so:
#import <Foundation/Foundation.h>
#import <UIKit/NSToolbar+UIKitAdditions.h>
Once you have access to the toolbar you configure it using the available NSToolbar properties, and set its contents using NSToolbarDelegate methods.
let toolbar = NSToolbar(identifier: "testToolbar")

toolbar.delegate = self
toolbar.allowsUserCustomization = false
toolbar.centeredItemIdentifier = NSToolbarItem.Identifier(rawValue: "testGroup")
titlebar.titleVisibility = .hidden

titlebar.toolbar = toolbar
To add a centred, segmented control in the toolbar implement the following delegate methods (ensure your scene delegate conforms to NSToolbarDelegate).
func toolbar(_ toolbar: NSToolbar, itemForItemIdentifier itemIdentifier: NSToolbarItem.Identifier, willBeInsertedIntoToolbar flag: Bool) -> NSToolbarItem? {
    if (itemIdentifier == NSToolbarItem.Identifier(rawValue: "testGroup")) {
        let group = NSToolbarItemGroup.init(itemIdentifier: NSToolbarItem.Identifier(rawValue: "testGroup"), titles: ["Solver", "Resistance", "Settings"], selectionMode: .selectOne, labels: ["section1", "section2", "section3"], target: self, action: #selector(toolbarGroupSelectionChanged))

        group.setSelected(true, at: 0)

        return group
    }

    return nil
}

@objc func toolbarGroupSelectionChanged(sender: NSToolbarItemGroup) {
    print("testGroup selection changed to index: \(sender.selectedIndex)")
}

func toolbarDefaultItemIdentifiers(_ toolbar: NSToolbar) -> [NSToolbarItem.Identifier] {
    return [NSToolbarItem.Identifier(rawValue: "testGroup")]
}

func toolbarAllowedItemIdentifiers(_ toolbar: NSToolbar) -> [NSToolbarItem.Identifier] {
    return self.toolbarDefaultItemIdentifiers(toolbar)
}
Behold, the final result:

If you’re porting an app with tab bar based interface like I am then from here you can fairly easily hide the tab bar and hook view controller swapping up to the toolbar section change action, like so:
#if targetEnvironment(macCatalyst)
let rootViewController = window?.rootViewController as? UITabBarController
rootViewController?.tabBar.isHidden = true
#endif
@objc func toolbarGroupSelectionChanged(sender: NSToolbarItemGroup) {
    let rootViewController = window?.rootViewController as? UITabBarController
    rootViewController?.selectedIndex = sender.selectedIndex
}

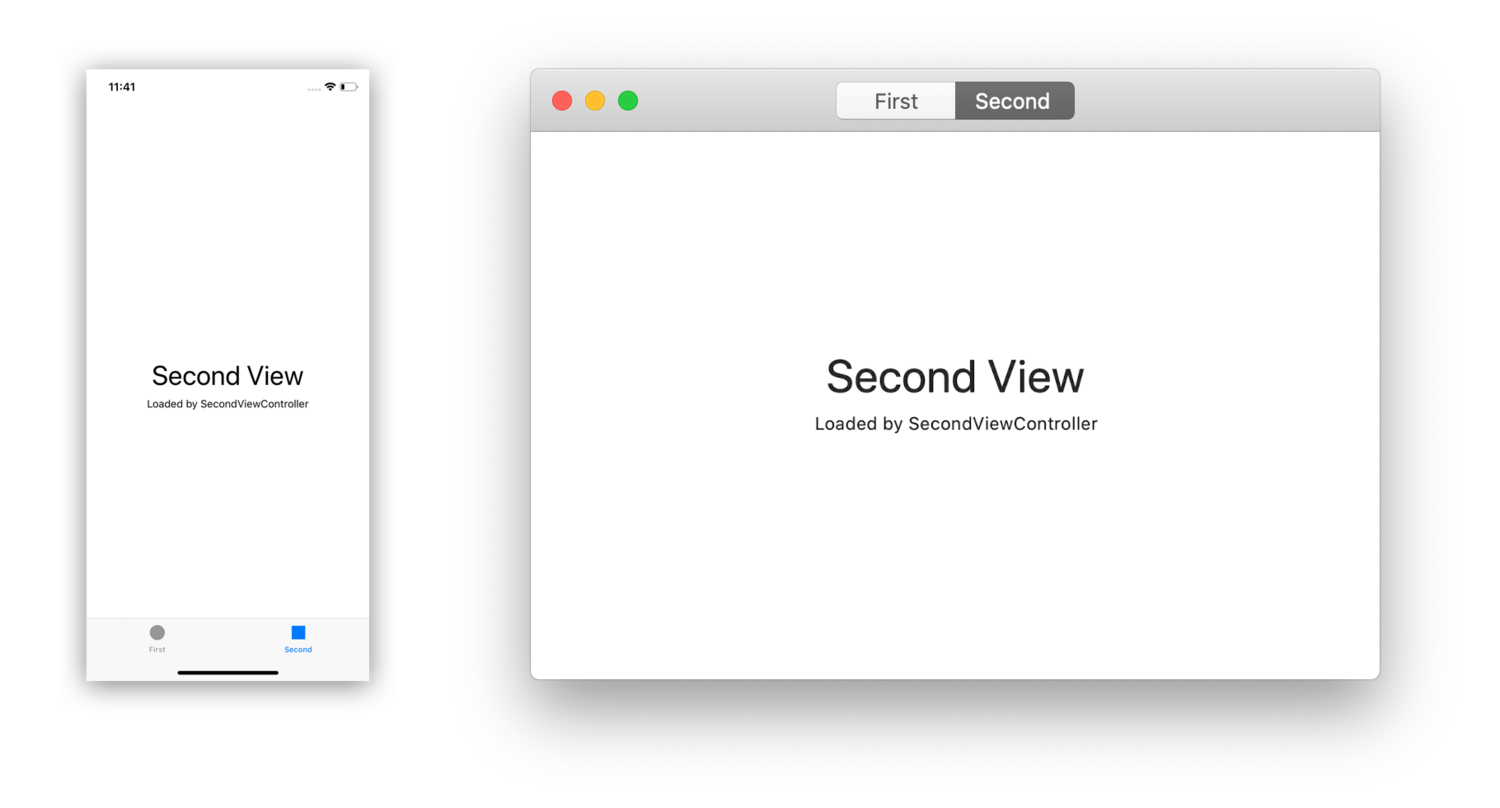
Appearance on iOS and macOS
The source for a test app is available here if you’d prefer to just look at the code.
